Now this is one of the topics, that dentist don't ACTUALLY have an idea.
A lot of bds guys, are not into dental photography at all. Many institutions we study do not actually offer any course on dental photography.
Now i remember when i entered into my postgraduation, i used to see my seniors taking a lot of photographs for documenting their cases.
You know why?
Because in our exams, there was case presentations, so need to document all the cases and present it in our exams.
Since, i am into photoshop, right from my childhood days, i knew a lot of editing stuff, i knew how some certain functions like white balance, color correction and lot of things like exposure compensation used to work.
I helped a lot of my seniors with photo editing.
So today I'm gonna talk about 5 tips for taking dental photographs like a pro...
But before i do that..let me ask you a question...Why is there a need for dental photography?
I'll tell you...
Dental photography is a fun way to document your patient's photographs.
It's also a good idea for patient's to keep track of how often they visit the dentist so that you can schedule regular appointments.
This especially is more important for orthodontists..This doesn't mean other branches don't have to document their cases.
Every specialist...like endodontist, prosthodontist, periodontist, oral and maxillofacial surgeon's, pedodontist...need to document their clinical cases.
So here are the following tips..
Tip #1: Take Before & After Photos
If you're taking pictures of your patient's teeth, make sure YOU take before and after shots. This will help you see what changes you've made to your patient's smile.
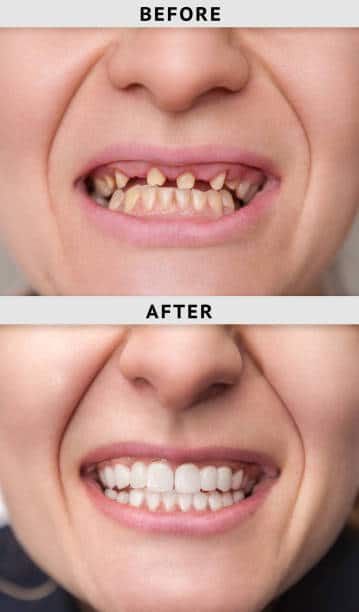
female smile after and before dental crown installation process
Tip #2: Shoot from different angles
It's also important to shoot from different angles. Try shooting from above, below, and at various distances. This will give you more options when editing your images later.
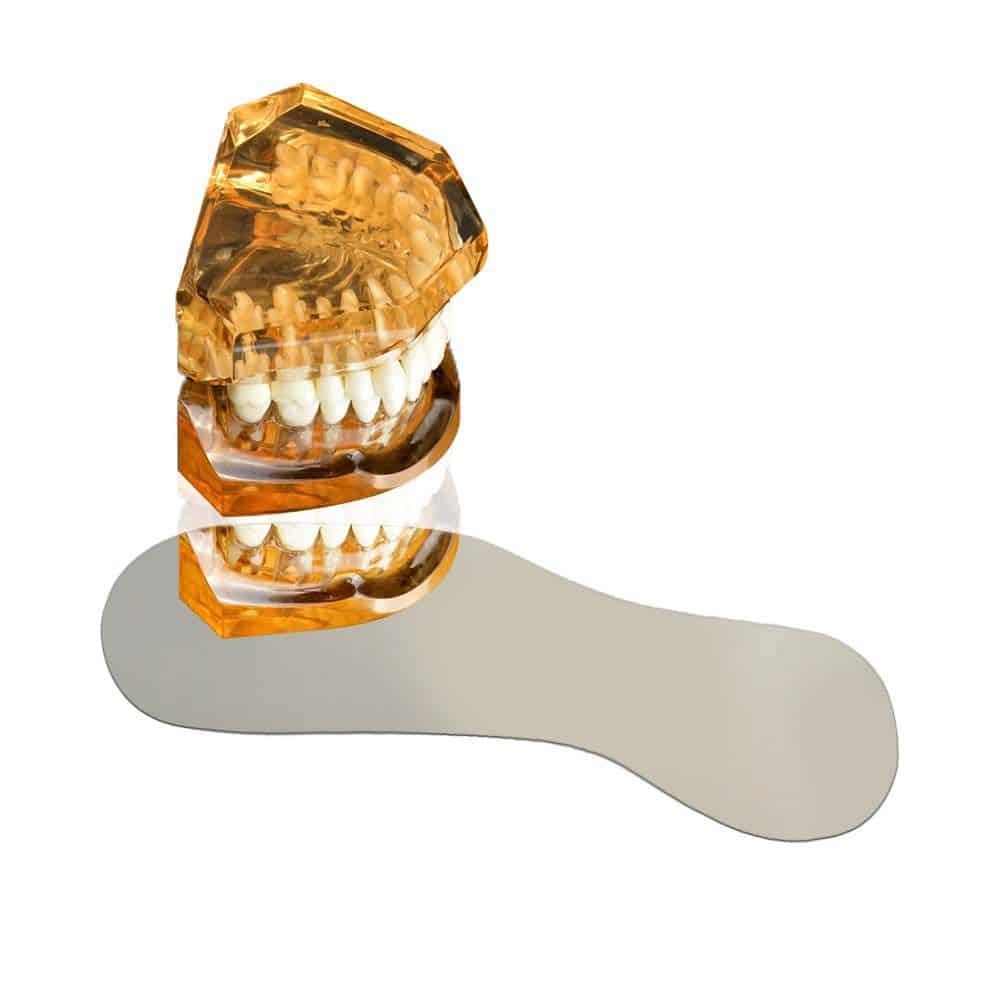
There are lot of mirror's which come for clicking photographs from buccal view, lingual view, occlusal view, frontal view etc.
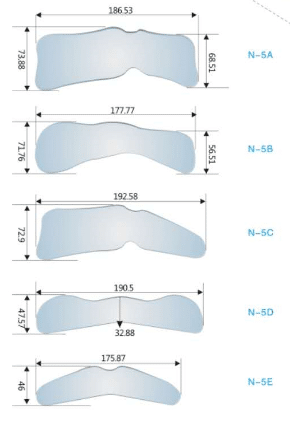
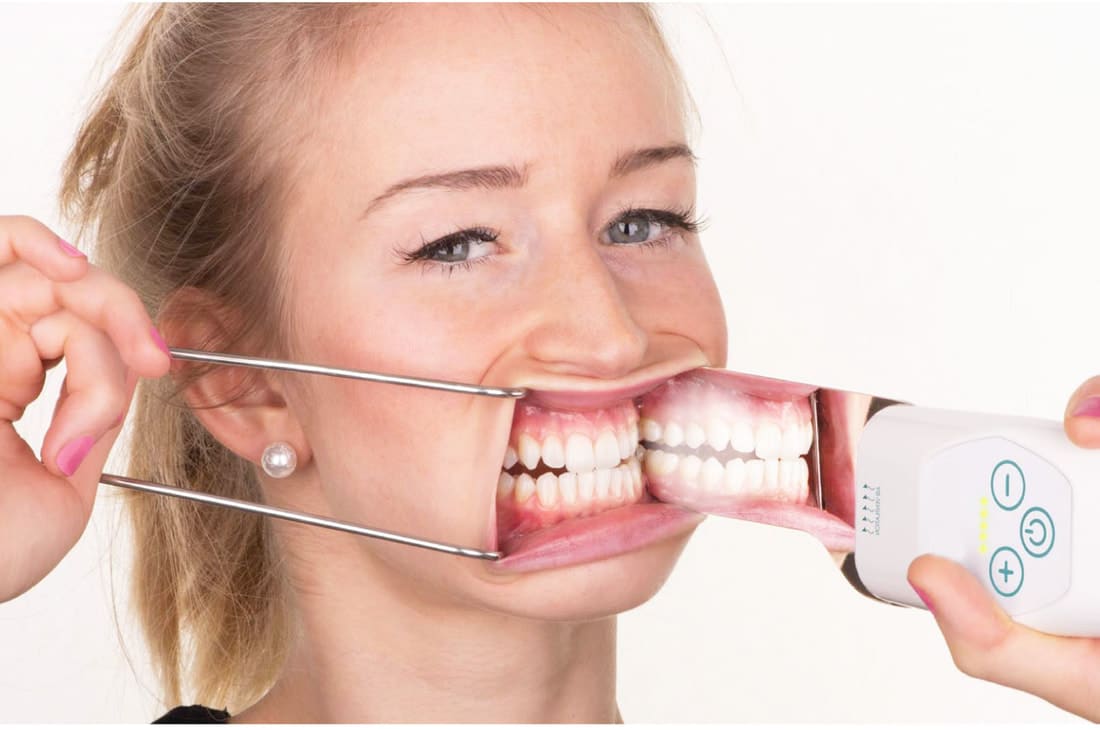
Now since a lot of you guy's don't know much about DSLR's and mirrorless cameras which you should use for dental photography...
I'm gonna post another topic on various dental photography equipments that you should buy.
I'll be posting a few link's that you can check out cameras, lenses, mirrors, contrastors, cheek retractors etc.need to buy at good prices.
Tip #3: Focus on Details
Another tip is to focus on details. If you're taking a photo of a patient's teeth, make sure to zoom in on the details.
Don't just take a picture of the whole mouth; instead, capture individual teeth.
You can use macro lens for the same..I'll be posting more macro lens for dental photography and from where you can buy.
Tip #4: Don't be afraid to ask for help
It's also helpful to ask patients what they would like to see in a photo. They might not realize how much detail there is in their smile until you point it out.
Tip #5: Edit Your Images Using Photoshop/Lightroom
If you're looking to edit images, try using Adobe Photoshop or Lightroom.
Both these software program's are one of the best software's out there for photo editing. No other program are closer to amount of editing which is possible with these.
Now if you don't know or don't have photoshop, you can signup for my course on where i talk about how to use photoshop to edit your photographs for dental photography documentation purposes.
When you use photo editing softwares, they allow you to make adjustments to color, contrast, brightness, saturation and more.
We study a lot of things on Hue/Saturation/value but as dentist we NEVER know the practical application of Hue/Saturation/value.
We are taught about Hue, that it is the dominant color of the object.
We are told saturation (chroma). that it is the amount of color present.
Value: Lightness or darkness...So if we go into photoshop....we can see an option as you can see below...
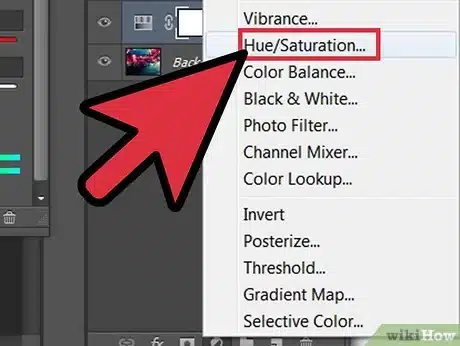
So if we click on this above image, what will you find?
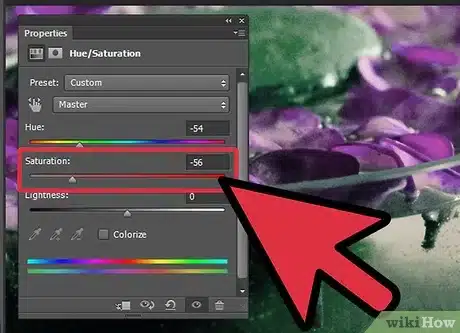
We can actually edit the hue/saturation/value aspect of a photograph...
Confused..?
So let me tell you a very practical application of this feature.
Assuming some patient come's to you for smile designing or may be say he wants to undergo a bleaching procedure. But he doesn't know how his teeth will look...
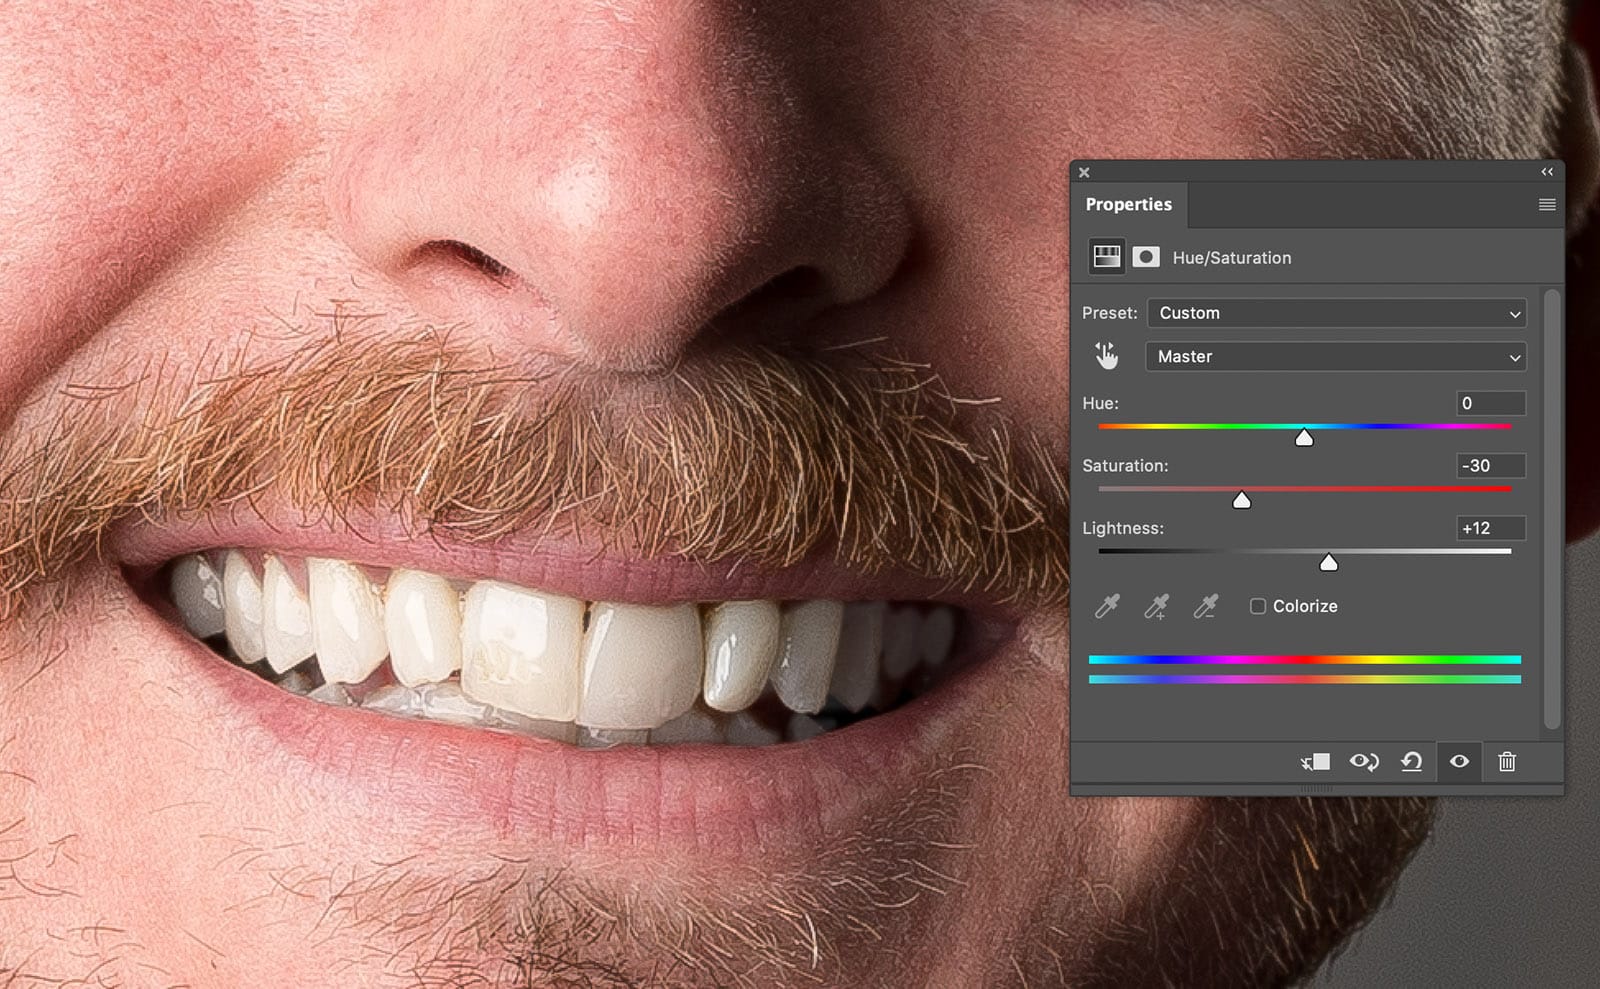
You can import the person's photograph in the software and adjust the hue, saturation, value parameter's and show how it can look before and after.
Let me show you a better photograph so you understand.

So when you change the hue parameter, you can turn white teeth into yellow teeth as you can see above.
Photoshop is one of the best tools to learn your dental material properties...
Also if you want to learn dental photography..
Even if you are bad at photographs, you can significantly improve the quality of your photographs..
There will be more tutorials and tips coming shortly on dental photography.
If you liked my tips, let me know in the comments section below and I'll get back with more.
